When a storm damages your roof, filing an insurance claim can feel confusing and stressful. Many homeowners don’t know where to start, what their insurance company will cover, or what to do if their claim is partially approved or denied.
The truth is that roof insurance claims are a multi-step process, and the first estimate from an insurance company is not always the final outcome. In many cases, claims are supplemented, reinspected, or revised once additional damage documentation or building code requirements are presented.
Understanding the full process—from the initial inspection to final claim approval—can help homeowners protect their property and ensure repairs are completed correctly.

Step 1: Identifying Storm Damage
Roof damage most commonly occurs after hailstorms, windstorms, or heavy weather events. While some damage is visible from the ground, much of it is not immediately noticeable without a professional inspection.
Common signs of roof storm damage include:
Missing or lifted shingles
Granule loss on asphalt shingles
Dents on roof vents, flashing, or gutters
Water stains on ceilings or attic insulation
Leaks after severe weather
Even if your roof appears intact, storms can cause hidden damage that worsens over time, which is why professional inspections are recommended after major weather events.
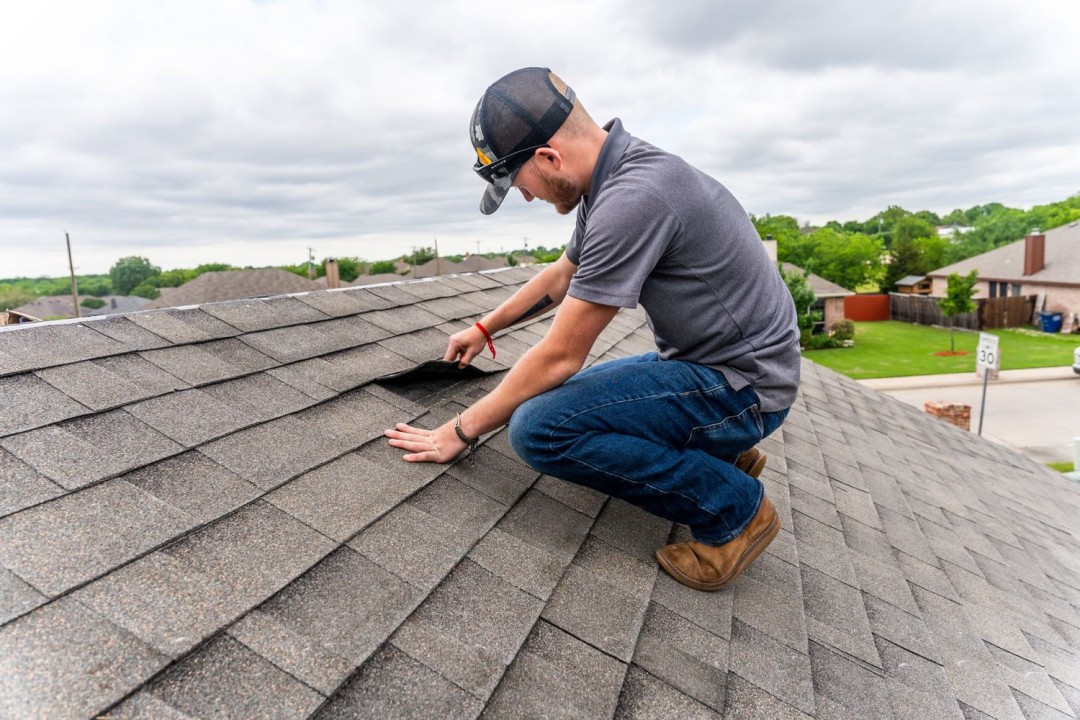
Step 2: Schedule a Professional Roof Inspection
Before filing an insurance claim, many homeowners schedule a roof inspection with a professional contractor; like us at VP Roofing. We can determine whether the damage appears to be storm related and whether it may qualify for an insurance claim.
During a typical inspection, contractors check:
Shingles for hail impact or wind damage
Roof penetrations such as vents and flashing
Gutters and soft metals for dents
Ridge caps and hip shingles
Evidence of lifted or creased shingles
We will usually take photos and documentation that may later support the insurance claim.
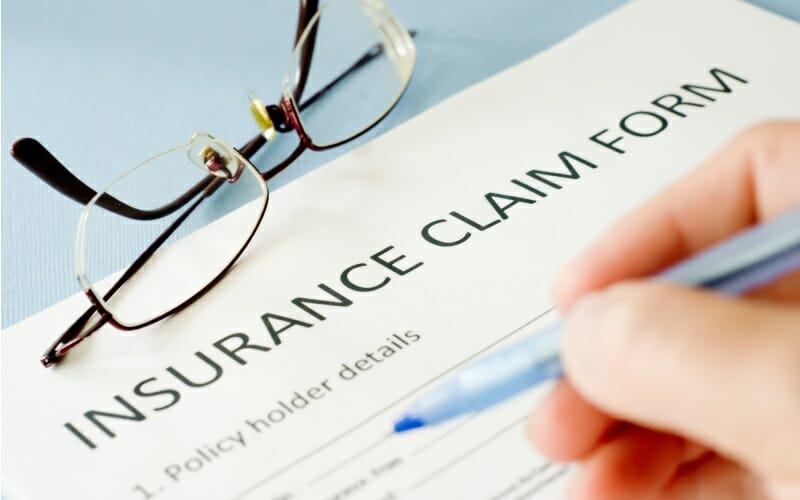
Step 3: Filing the Insurance Claim
If storm damage is confirmed, the next step is to file a claim with your homeowner’s insurance company.
The insurance company will typically ask for:
Your policy number
Date of the storm event
Description of the damage
Contact information
After the claim is opened, the insurance company assigns a field adjuster to inspect the property.

Step 4: The Insurance Adjuster Inspection
The adjuster works on behalf of the insurance company to determine:
Whether the damage was caused by a covered storm event
The extent of the damage
Whether the roof can be repaired or needs replacement
During this inspection, the adjuster will:
Inspect the roof for hail or wind damage
Measure affected areas
Take photographs
Create a repair or replacement estimate
It is often beneficial for the roofing contractor to be present during the adjuster inspection, as they can help point out damage that may otherwise be overlooked. At VP Roofing, we have dedicated people who are at every adjuster inspection!

Step 5: Understanding the Insurance Scope of Loss
After the inspection, the insurance company provides a document called the Scope of Loss.
This estimate outlines:
Approved repairs or replacements
Labor and material costs
Depreciation amounts
The homeowner’s deductible
Most roof insurance claims are paid in two stages:
Actual Cash Value (ACV)
The initial payment issued after the claim is approved.
Recoverable Depreciation
The remaining funds released after repairs or replacement are completed.
However, the initial estimate does not always include everything required to complete the project properly.
When Insurance Only Approves a Partial Roof Claim
One of the most common outcomes after an adjuster inspection is a partial approval.
Instead of covering a full roof replacement, the insurance company may approve repairs to only a portion of the roof.
This may happen when the adjuster believes:
Damage is limited to a specific area
The roof is repairable
Some damage is due to age rather than storms
For example, an insurance estimate may only approve replacing 10–30 shingles or one slope of the roof.
While this may seem final, it often isn’t.
Why Partial Approvals Are Often Challenged
Partial repairs may not always be possible due to several factors, including:
Shingle Matching Issues
If the existing shingles are discontinued, replacement shingles may not match the rest of the roof.
Brittle or Aging Shingles
Older shingles may crack or break during removal, making repairs impossible.
Hidden Damage
Storm damage may extend beyond the initially approved area.
Building Code Requirements
Current building codes may require additional materials or upgrades when roof work is performed.
When these factors are discovered, the claim may need to be supplemented or reinspected.

Step 6: Documentation and Testing
To support a supplement or claim revision, contractors often perform additional testing and documentation.
This may include:
ITEL Reports
Used to identify the exact shingle manufacturer and determine if the product is discontinued.
Brittle Tests
Used to determine whether shingles break during removal, which indicates repairs are not feasible.
Repairability Tests
Determine whether surrounding shingles can be safely removed without causing further damage.
Matching Reports
Used when replacement materials cannot match the existing roof.
These reports provide evidence that can justify expanding the claim scope.
Step 7: Submitting a Supplement
A supplement is a formal request asking the insurance company to revise its estimate.
Supplements may include:
Additional damage photos
Contractor inspection reports
Missing line items from the estimate
Material and labor adjustments
Building code requirements
Insurance companies often revise estimates once this information is submitted.
Utah Roofing Code Requirements That Can Impact Claims
In Utah, roofing work must follow the International Residential Code (IRC) with state amendments, which establishes installation standards for residential roofs.
Insurance policies often include Ordinance and Law coverage, which requires the insurance company to pay for upgrades needed to meet current building codes when repairs are performed.
Several code requirements frequently affect roof insurance claims.

Ice and Water Shield Requirements
Because Utah experiences cold winters, roofs must include an ice barrier membrane to prevent ice dam leaks.
Roofing code requires ice barrier protection extending at least 24 inches inside the exterior wall line of the building.
This typically requires:
Ice and water shield along all roof eaves
Additional protection in valleys
Coverage around penetrations
If the insurance estimate does not include these materials when roof sections are replaced, the missing items may be added through a supplement.
Why Repairs Sometimes Aren’t Possible
Insurance companies often assume a roof can simply be repaired. However, in many situations a repair does not produce a safe or compliant roof system.
Repairs may fail when:
Shingles crack during removal
Matching materials are unavailable
Damage extends beyond visible areas
Code upgrades are required during installation
When repairs cannot be completed properly, a larger replacement scope may be necessary.
Step 8: Requesting a Reinspection
If additional evidence shows that the original insurance estimate was incomplete, homeowners may request a reinspection.
During this inspection:
We meet with the adjuster onsite
Additional damage evidence is presented
Code requirements are discussed
Testing results may be reviewed
Many insurance claims are revised after a reinspection.
Step 9: Completing the Roof Work

Once the claim scope is finalized, we schedule the work.
This may include:
Full roof replacement
Partial replacement
Flashing upgrades
Ventilation improvements
Code-required underlayment installation
The work must comply with both insurance requirements and local building codes.
Step 10: Final Payment and Claim Closure
After the roofing project is completed, documentation is submitted to the insurance company.
This usually includes:
Final invoice
Completion photos
Certificate of completion
The insurance company then releases the recoverable depreciation, which is the final payment for the project.
Final Thoughts
Roof insurance claims can be complex, especially when claims are partially approved or missing required scope items.
Understanding the full process—from inspection to supplements and building code compliance—can help homeowners ensure their roof is repaired correctly and safely.
Working with a roofing contractor experienced in insurance restoration and building code requirements can make a significant difference in the outcome of a claim.
If your home experienced storm damage and you’re unsure whether your insurance estimate includes everything required, a professional inspection can help determine the next steps. Call us to see if your roof qualifies for a roofing claim!
![]()